

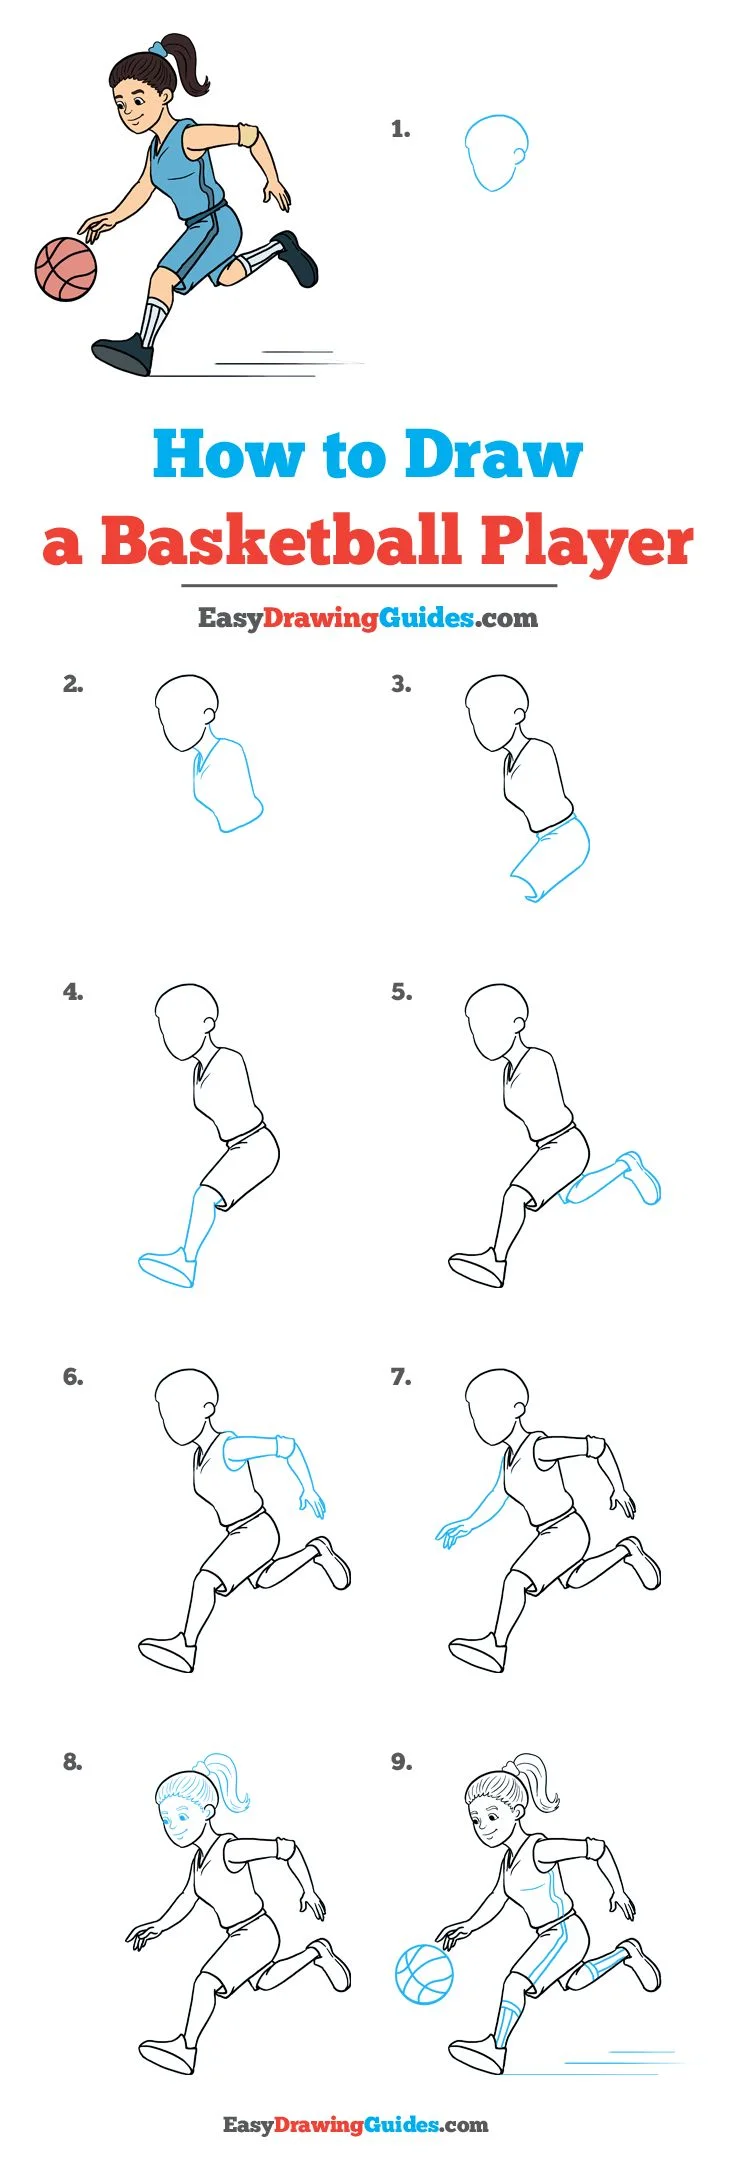
How to Draw a Basketball: Easy Step-by-Step Guide. Learn how To draw a basketball with our easy stepbystep guide! Perfect for beginners. You’ll be creating cool basketball art in no time. Let’s get drawing!
What is How To Draw a Basketball: Easy Step-by-Step Guide & how does it work?
Drawing a basketball involves simple shapes. Begin by sketching a circle. This forms basic outline. Using arcs. Add grid lines across each side. This helps create a realistic texture. Dark lines define grooves in basketball’s surface. A well-drawn basketball appears dynamic & three-dimensional.
Brief history of How To Draw a Basketball: Easy Step-by-Step Guide
Basketball originated in 1891. Dr. James Naismith created this game. Artists began capturing its essence through sketches. Styles evolved over decades. Reflecting culture. From simple drawings. Detailed illustrations emerged. Techniques became refined through various art movements.
How To implement How To Draw a Basketball: Easy Step-by-Step Guide effectively
Gather all materials prior. Use pencils. Erasers, & colored pens or markers. Start with a clean sheet of paper. Familiarize yourself with basic shapes first. Follow your guidelines closely. Clean up unnecessary lines after sketching. Add colors based on your preference. Finally. Allow your artwork time for drying.
Key benefits of using How To Draw a Basketball: Easy Step-by-Step Guide
Learning this technique boosts artistic skills. Drawing develops hand-eye coordination significantly. Enjoyment comes from creating your own sports art. It can be relaxing. Producing meditative states. Great for teaching children about shapes. Lastly. Finished pieces may spark conversations with friends.
Challenges with How To Draw a Basketball: Easy Step-by-Step Guide & potential solutions
Some struggle with proportions while sketching. Solutions include using templates for practice. Others may find colors challenging. Reference images can guide color choices effectively. Lack of confidence also poses a problem. Regular practice can enhance your skills over time.
Future of How To Draw a Basketball: Easy Step-by-Step Guide
Technological advancements will influence drawing methods. Interactive apps may provide new approaches. Virtual reality could change artistic experiences completely. Workshops may incorporate digital tools for learning. Future generations will explore unimagined creative possibilities.
Table of How To Draw a Basketball: Easy Step-by-Step Guide
| Step | Action |
|---|---|
| 1 | Sketch a circle. |
| 2 | Add arcs for grooves. |
| 3 | Outline basketball shape. |
| 4 | Clean up sketches. |
| 5 | Add colors & details. |

Materials Needed for Drawing a Basketball
Gather Essential Tools
Before starting your illustration. Gather necessary tools. Pencils. Erasers, & sketch paper help create initial outlines effectively. Colored pencils or markers add vibrant colors later. Make sure supplies are ready for an efficient drawing session. A good sharpener keeps pencils in optimal condition. Ensuring clean lines during sketching.
Choose Appropriate Paper
Selecting right paper enhances drawing experience. Smooth. White paper works best for clean sketches. Textured paper offers unique effects but may complicate details. Experiment with various surfaces To see what suits your style. Finding optimal paper sets a strong foundation for your artwork & allows for easy corrections.
Decide on Drawing Style
Your choice of drawing style impacts overall outcome. Realistic styles require attention To detail. Cartoonish drawings allow for more creativity. Observing basketball illustrations online brings fresh inspiration. Check resources that showcase different artistic expressions from simple shapes To intricate designs.
Understanding Basketball Shape
Identifying Basic Form
Basketballs exhibit a round. Spherical shape. Visualize this shape before sketching. Start with a simple circle. Which serves as building block. The perfect circle forms foundation for your basketball. Understand proportions To achieve accurate representation. Take your time visualizing dimensions when starting.
Recognizing Additional Features
Beyond core shape. Basketball showcases unique features. Horizontal & vertical lines create seams & panels. Familiarize yourself with these lines; they define ball’s aesthetic. Study real basketballs or reference images for authenticity. Pay attention To how lines intersect & create patterns on surface.
Observing Light & Shadow
Understanding light greatly enhances realism. Determine light source while drawing. A wellplaced shadow conveys depth effectively. Use lighter & darker shades To suggest curvature. This technique brings your basketball off The page. Making it more lifelike.
StepbyStep Drawing Process
Creating Initial Outline
Begin with a light pencil outline. Draw a circle To represent basketball’s exterior. Don’t press too hard; you’ll adjust later. This circle serves as main reference point throughout drawing. Make sure it’s proportional & centered To allow for symmetry.
Adding Seams & Lines
Once your circle looks good. Add seams next. Use a ruler for precision. Creating horizontal & vertical lines. Ensure they intersect neatly at center of circle. Add slight curves To mimic true basketball design. These lines help distinguish ball’s texture & geometry.
Finalizing Details
With seams in place. Refine your drawing further. Erase unnecessary lines & reinforce primary outlines. Focus on smooth curves & edges. Ensure everything looks balanced & visually appealing. This final touch solidifies overall look of basketball illustration.
Coloring Your Basketball
Choosing Colors
Color selection affects athletic feel of your basketball. Traditional orange with black or dark brown panels remains popular. Alternatively. Experiment with brighter colors or gradients. Drawing inspiration from different designs leads To unique outcomes. Ensure chosen colors complement one another for a cohesive effect.
Applying Color Techniques
Utilize various coloring techniques for depth. Layer colors during application for richness. Blend edges smoothly for realistic transitions. A slight use of white highlights adds shine. Enhancing threedimensional appearance. Attention To detail encourages viewers To appreciate your effort.
Using Markers vs. Colored Pencils
Markers offer bold colors. Perfect for vibrant illustrations. Colored pencils allow for subtle blending & softer hues. Choosing medium greatly depends on personal preference. Experiment with both techniques for skilldevelopment. Observe how mediums influence texture & how colors respond on paper.
Enhancing Your Skills
Practice Regularly
Regular practice solidifies skills. Create numerous basketball sketches To develop confidence. Experiment with different angles. Sizes, & styles. Document progress over time; this boosts motivation. Learning becomes enjoyable when you witness your improvement firsthand.
Seeking Feedback
Sharing your work fosters growth. Join online communities or local clubs for artists. Constructive criticism helps refine techniques. Interacting with others keeps enthusiasm alive. Remember. Feedback not only highlights strengths but also identifies areas needing improvement.
Studying Other Artists
Observing work of experienced artists broadens perspective. Analyze their techniques & styles critically. Try replicating their work for handson learning. Seeking inspiration from diverse artists enriches creative approach. This knowledge enhances understanding of styles. Composition, & visual storytelling.
Incorporating Unique Styles
Exploring Abstract Representations
Stepping beyond realism opens new horizons. Abstract art allows food for thought & creativity. Use bold colors. Different shapes, & unconventional patterns. Your imagination gives freedom for exploration beyond traditional drawing boundaries. Embrace uniqueness, & let your creativity shine through.
Combining Other Elements
Integrating additional elements creates visually interesting compositions. Consider backgrounds or playing scenes featuring basketball. Incorporating movement reflects excitement & dynamic energy. A combination of elements captivates viewer’s attention & draws them into your artwork.
Creating Series or Themes
Consider creating a series revolving around basketball. Each piece could depict different contexts or emotions associated with sport. Themes bring cohesion & showcase artistic range. Not only does this enhance portfolio but encourages continuous experimentation & growth.
Finding Inspiration
Observation of Live Games
Attending live basketball games offers valuable reference points. Observe player movements. Emotions, & expressions. These observations create unique ideas To incorporate into artwork. Watching different styles of play adds excitement To your illustrations. Capture dynamic scenes with accurate postures & forms.
Using Online Resources
Numerous online sources fuel inspiration. Websites. Like I Heart Crafty Things. Offer guides & references. Pinterest also showcases varied styles. Enabling broader viewpoints. Finding illustrations from different eras can spark creativity. Expand visual library for better references.
Engagement with Art Communities
Participating in art communities opens doors. Connect with fellow artists through forums & social media. Sharing ideas leads To collaborative learning opportunities. A supportive community encourages continued artistic exploration. Share your creations; receive inspiration from talented individuals.
Final Touches & Presentation
Adding Signature
Once satisfied. Consider adding your signature. Personal branding enhances originality. Place your name discreetly at bottom corner or side of artwork. Signing creations makes it uniquely yours. Building recognition over time. This practice elevates artistic identity & ownership.
Framing or Displaying Artwork
Framing completed works protects & showcases efforts. Choose frames that complement style & colors. Consider digital options for online sharing. Proper presentation communicates pride in your work. A neat display captures attention & appreciation from viewers.
Creating an Online Portfolio
Documenting artwork online builds a professional presence. Use platforms like Instagram or artcentric websites. Share creations for feedback. Engagement, & visibility. Over time. These collections highlight your artistic journey. This exposure opens more opportunities for growth & collaboration.
Features of Effective Basketball Drawing
- 🎨 Unique Styles & Techniques
- 🖌️ Vibrant Color Application
- ✏️ Clear Outline & Details
- 🏀 Understanding of Shape & Features
- 🌟 Regular Skill Enhancement
- 📈 Continuous Community Engagement
- 📸 Attractive Presentation Methods
Personal Experience in Drawing
During my sketching journey. I discovered immense joy. Over time. I learned techniques that greatly improved my skills. Experimenting with styles opened up creative pathways for expression. Sharing my work with others led To unexpected opportunities. Every stroke on paper reflects dedication. Commitment, & passion for art.

Gather Necessary Materials
Before starting. Ensure you have all required materials. You need a pencil. Eraser. Paper, & coloring tools. Use different types of paper for variety. Graph paper or sketch paper works well. Each item plays a crucial role in final output.
Choose a comfortable workspace. Good lighting helps in seeing details clearly. Avoid distractions for a focused drawing session. Make sure everything you need sits within reach. This setup promotes creativity & efficiency while drawing basketball.
Feel free To explore various techniques. Each technique might enhance your skills further. Do not hesitate To try something new or different. You can also check out different art styles & tips online. Here. You can find helpful resources like this Pinterest link.
Understanding Basketball’s Shape
Basketball possesses unique shapes & features. Familiarizing yourself with these shapes ensures accurate drawing. Start by studying an actual basketball. Look at its circular shape & stitching pattern. This knowledge helps in replicating a realistic drawing.
Focus on a circular structure first. This will serve as your base. Next. Observe fine details like grooves & logo placement. Spend time sketching these aspects. You can gain significant insight by examining different basketballs further. More references can enhance your understanding of appearance. Such as this Pinterest resource.
Learning how light interacts with surfaces is important as well. Highlights & shadows create depth. Understanding these fundamentals will help improve your art techniques. Shape & light are central elements of producing realistic designs. You can check this link for additional insights.
StepbyStep Drawing Guide
Step One: Create a Basic Outline
Begin by lightly sketching a perfect circle. Use your compass or any round object for precision. Keep your lines light. So erasing mistakes becomes easy. Maintain focus during this initial step. A precise outline serves as foundation for your basketball drawing.
Check proportions carefully once The circle appears. Make adjustments if necessary To capture accurate dimensions. Regularly assess your sketch for balance. Proper proportions contribute significantly To overall quality of your artwork. Remember. Patience during this phase pays off in later steps.
After achieving desired outline. Move on To detailing. Start adding pattern lines & markings. Create two curved lines along surface of ball. These lines represent grooves. They emphasize texture on basketball surface remarkably well. Keep details clean & uniform as you progress.
Step Two: Adding Details
In this section. Begin adding stitching details. These lines show how panels connect. Providing authenticity. Draw them lightly within circular structure around ball. Maintain consistency in spacing between each stitch. This pattern will contribute toward realism in this drawing.
Focus on color choices now. Selecting appropriate colors brings your drawing To life. Use a vibrant orange for main basketball body. Add darker shades for shadows following contours. Highlight areas with lighter orange or white for dynamic effect. Each shade creates a sense of threedimensionality.
Experiment with shading techniques. Blending color carefully gives soft transitions. Using different pencil pressures also affects intensity. Consider using colored pencils or markers too. Each medium uniquely contributes toward overall appearance of your artwork.
Step Three: Final Touches
Finally. Review your basketball drawing critically. Clean up any stray lines or uneven marks. Use eraser gently around edges. Avoid removing essential details while perfecting overall shape. This step enhances quality while ensuring finished product looks polished.
Consider adding background elements. Simple lines or shapes showcase basketball’s environment effectively. Incorporating this aspect links focus back toward your main object. However. Keep added elements minimal so they don’t distract from main drawing.
Once satisfied with result. Consider framing your artwork. This allows others To appreciate your creative effort. Additionally. Framing protects your work from dust & damage. Overall. Remember that practice leads To improvement. Enjoy process as you work on future drawings.
Tips for Improving Your Basketball Drawing Skills
Practice Regularly
Regular practice enhances drawing abilities rapidly. Dedicate specific timeframes each week for your art. Consistency fosters skill development & creates familiarity. Drawing various basketball styles also expands your imagination. Each attempt teaches something new about shapes & proportions.
Join art classes or online workshops for guidance. Engage with professional artists who can offer tips. Learning various techniques from multiple sources brings diverse perspectives. These experiences deepen understanding of forms & features. Utilize forums & social media for connecting with fellow artists.
Create challenge for yourself. Set goals for drawing different basketball styles or models. Experiment with unique perspectives by drawing basketball from above or below. Push your boundaries & increase artistic skills through creative exploration.
Study Famous Athletes
Analyzing famous basketball players enhances understanding of their uniforms. Different designs feature diverse colors. Logos, & details. Capturing these elements adds realism while drawing players or basketball scenes. Use visual references for clothing styles & character traits.
Observe how athletes interact with basketball. Studying poses & movements provides insight into realistic depiction. Experiment with different perspectives portray them during games. Watching sports footage can inspire fresh ideas on dynamic positioning.
Such studies breathe life into your drawings. Including character & emotion brings scenes alive. Alcoholics Anonymous scenes usually feature intensity & excitement. Striving for similar depth encourages creativity within your artwork.
Experiment with Different Mediums
Explore different drawing mediums as you develop your style. Graphite pencils. Charcoal. Pastels. Or watercolor set each medium apart. Experimentation allows you To discover personal preferences. Each option brings unique textures & colors into your artwork.
Incorporate mixed media into your projects for added flair. Combining watercolor with colored pencils creates distinct effect. These contrasts deepen understanding of various techniques. Allow observations from these experiments guide future endeavors.
Trying out new tools or mediums broadens skill set remarkably. Many artists develop signature styles by incorporating various techniques. Find joy while exploring artistic variety as you create unique basketball representations.
Comparison Table of Drawing Techniques
| Technique | Description | Effectiveness | Medium Used | Skill Level |
|---|---|---|---|---|
| Sketching 📝 | Basic outline & shape formation. | Essential for basics. | Pencil | Beginner |
| Shading 🎨 | Creating depth with shadows. | Effective for realism. | Charcoal. Pencils | Intermediate |
| Color Techniques 🌈 | Bringing vibrancy through colors. | Enhances overall appeal. | Color Pencils. Markers | Advanced |
| Mixed Media 🎭 | Combining various techniques. | Adds uniqueness & flair. | Variety | Expert |
My Drawing Experience
I learned how fun drawing can be. I often spent evenings sketching basketballs. Experimenting with colors brought excitement. Creating various designs fueled my passion for art. Each attempt improved my skills greatly.
What materials do I need To draw a basketball?
To draw a basketball. You will need a pencil. Eraser. Paper, & colored pencils or markers in orange & black for coloring your drawing.
How do I start drawing a basketball?
Begin by drawing a large circle in The center of your paper. This will be The outline of The basketball.
What is The best way To make The basketball look round?
To ensure your basketball appears round. You can lightly sketch The circle multiple times or use a round object To trace around for a perfect shape.
How do I add The detailing on The basketball?
After you have your circle. Draw two curved lines that intersect in The middle. Creating a ‘Y’ shape. Then. Add three more curved lines To represent The seams of The basketball.
What should I do if my lines are not smooth?
If your lines are not smooth. You can use an eraser To gently clean up any mistakes or rough edges. Then. Try To redraw The lines with a steadier hand.
How do I color The basketball?
Use your orange colored pencil or marker To fill in The main body of The basketball. Be sure To leave The seams uncolored or shade them lightly with black To make them stand out.
Should I add shadows or highlights To my drawing?
Adding shadows on one side of The basketball can give it a more threedimensional look. Use a darker shade of orange or a light gray To create shadows & highlights.
What technique can I use for blending colors?
To blend colors smoothly. You can use a blending stump or your finger. Gently rub The colored pencil areas together To achieve a gradient effect.
How can I make my basketball drawing look more realistic?
To enhance realism. Consider adding texture by drawing small dots or lines To mimic The surface of a basketball. You can also pay attention To The light source in your drawing To create more accurate shading.
Can I draw a basketball from a reference image?
Using a reference image is a great way To improve your drawing. It helps you understand The details & proportions of a real basketball.
What common mistakes should I avoid?
Avoid drawing The seams too thick or The basketball too small compared To The paper. Keep The proportions realistic for better results.
How long does it take To draw a basketball?
The time it takes can vary based on your skill level. But generally. You can complete a basic drawing of a basketball in about 15 To 30 minutes.
Can I use digital tools To draw a basketball?
Yes. You can use software like Photoshop or drawing apps for tablets. The process is similar. But you’ll use digital brushes & tools.
Is it necessary To outline my drawing?
Outlining your drawing with a black marker or pen can help define The shapes. However. It is not mandatory, & you may choose To leave it as is for a softer look.
What should I practice To improve my basketball drawing skills?
Practice drawing different angles & sizes of basketballs. Also. Sketching different sports equipment can enhance your overall drawing skills.
Conclusion
In conclusion, drawing a basketball can be a fun & simple task for everyone, from beginners To experienced artists. By following The easy steps outlined in this guide, you’ll be able To create a recognizable basketball with just a few basic shapes & lines. Remember To practice, as drawing is all about improving over time. Don’t hesitate To add your personal touch & style To make your basketball unique! So grab your pencil & paper, & start creating. Happy drawing, & enjoy The process of bringing your basketball To life!